
When we are in the thick of January, I like to come to my little with a toasted piece of bread spread with strawberry jam and say, “Look! Here! Taste summer again!” They, ofcourse, embrace the drama of the statement with giggles and eyerolls of delight as our tastebuds remember the sweet taste of early spring.
As a family, we try and eat seasonally, meaning, it has been many months since we have tasted strawberries. We shouldn’t complain – May brought blackberries, June had blueberries, July heat provided the first of the peaches and August started raspberry season. But there is nothing quite like a warm, ripe strawberry.

Strawberry Picking
Among other spring adventures, we made it out to our local-ish strawberry patch on the first of April! In the early 2000’s, I had picked blackberries and strawberries at the same patch with my mom on our spring field trips. We’d pack a picnic with another family and soak up the sweet smells and spring sunshine. I remember the delight in knowing you could eat as many as you liked… My two year old seemed to enjoy the same.

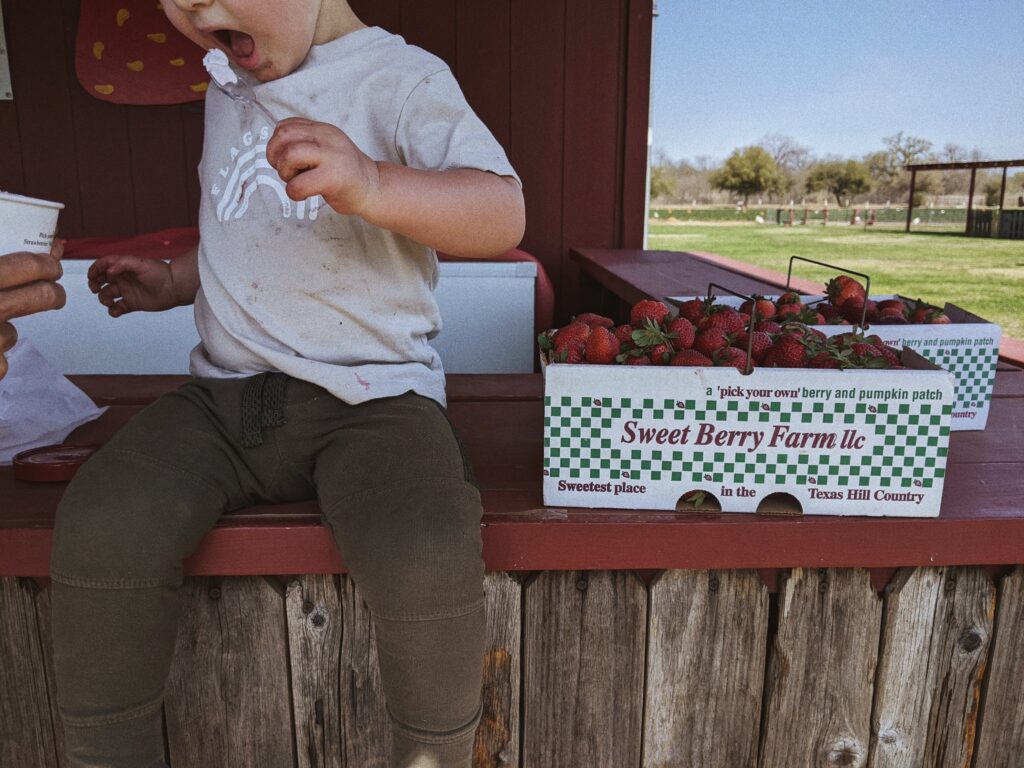

10 minutes in and I had counted eighteen strawberries down the hatch. They’d really make more at the patch if you had to weigh your children before and after entering… Strawberries are specifically seasonal, and a short season at that. I decided that, since fruit is a big part of our summer and winter baking, I’d use the opportunity to stock up on in season fruit for freezer storage. Picking enough for two gathering baskets went quickly enough, and we left with 15 lbs for year round munching!
At Christmas, I acquired my first canning pot and the kit including all the ladles, funnels and tongs one might need. I’d even become a member of Jill Winger’s “Homestead Master Pack” area that hosts education on canning, dairy, food preservation and more. But, I had yet to find the courage to try. With our strawberries, I knew that a few small jars of jam would be a quick and easy way to begin!
Canning Jam
Ideally, I would love to have abundance in the garden that we can store without overloading our freezer. I do enjoy a good pickle or jar of canned green beans and still hope to grow more than what my toddler can eat fresh. One of the more daunting aspects of canning is the time required from start to finish.
In general, the food and the jars need to be heated and cooked at the same time. Normally, I love a cooking project that can be spread out over time. This is not that. Some canned items, such as spaghetti sauce also takes 45 minutes in the water bath after the actual making of the sauce. Jam, however, only takes 15 minutes. I made sure to bring out my trusty “Ball Blue Book Guide to Preserving” and use a recipe that had the proper cook time and acid balance.

Strawberry Jam Recipe
- Note: Makes 8 half pint or 4 pint jars
2 Quarts of Strawberries (about 4 lbs.)
6 Cups of Sugar (I used organic cane sugar)
¼ Cup of bottled lemon juice
Note: We prepared our strawberries by washing, and removing the tops of the strawberries with the leaves. We then moved them to the freezer in quart size bags for long term storage. This jam can be made with fresh or frozen strawberries. (The cook time/time to thicken may be longer with frozen berries due to an increase of water content)

Canning Tools Needed
- Stock Pot
- Jars: pint or half-pint
- New Lids
- Tongs
- Towels
- Rack
- Candy thermometer
3 Tips for Jam Making & Canning
- Timing: The jam does take a good amount of time to thicken, especially from frozen berries. Once you are at the point of testing jam thickness, I would begin your jar prep. You want the jars to be coming out of the water bath ready for contents around the same time the jam is thick and ready to store. This way, you can keep the water boiling for canning once filled.
- Towel: Have a towel next to the stove ready to hold clean jars coming out of the stock pot, and finished jam jars. Once canned, you will leave the jars for 12-24 hours. This is a good way to catch water and prevent heat damage to counter tops.
- Oops jars: jars that do not seal properly can still be used! They need to be stored in the fridge and used within 10 days. You can make this jam recipe and store your jam this way if making a smaller batch.
- Bonus: You can make this same recipe with pectin for a thicker consistency! Using the same amount of strawberries, add an additional cup of sugar (7 cups), 6 tablespoons of classic pectin and ¼ cup of lemon juice. For low sugar pectin, add strawberries to 1 cup of water with 3 tablespoons of low or no-sugar needed pectin.


Method
- Using clean, leafless strawberries, crush or rough chop and add to a medium pot with sugar.
- Bring to a boil and ensure the sugar dissolves completely and water begins to evaporate. Skim off foam as it develops.
- Gelling point is around 220F degrees. You will notice your jam getting close once it coats the back of a wooden spoon. You can also test by placing a small spoonful on an ice cold plate. When turned sideways, if you can swipe a finger through the jam and it does not drip, it is thick enough.
- Meanwhile, wash and rinse your canning jars, lids and rings. Start a stock pot boiling with water at least 1 inch above your jar tops.
- Once your jam has reached the gelling point, lower the heat and boil your jars for 10 minutes. Do not boil the rings or lids.
- Place the heated jars on a towel and ladle in hot jam, leaving a ¼ inch headspace. Remove air bubbles with a toothpick and wipe the rims of the jars clean.
- Place the lids on the jars and tighten the rings to fingertip-tight. Place the jars on the rack in the canning pot. Water temperature should be around 180F degrees and cover the jars by 1 inch.
- Cover your pot and process our half-pint or pint jars for 15 minutes. Remove the lid and turn off the heat and allow the jars to cool for 5 minutes. Take out the jars and do not adjust the bands.
- Allow the jars to cool untouched for 12-24 hours. At this point, you can check the seals and tighten the bands if needed. You will check that the lid center is slightly concave and does not have a bright ringing sound when tapped in the center.

Savor Spring
They say that chickens are the gateway to most other homesteading animals. I think strawberry jam is the gateway to wanting to can anything an everything. I was delighted by how easy the canning process was, and had success with the 5 jars I processed. It gave me new perspective on what we are growing and how we can store it well. The green beans and cucumbers have started to blossom, and the roma tomatoes are green and tempting. The summer anticipation begins!
To put your strawberry jam to the test, make a batch of jam bars or a fresh loaf of Jill Winger’s Maple Oat Bread.
Have a favorite canning recipe? I’m looking for the best giardiniera! Share in the comments.
Leave a Reply